
This page: Carb job summary page.
Go to: Carb removal from the bike.
Go to: Carb separation.
Go to: Carb overhaul.
Go to: Misc pictures.
Return to: Jim's Goldwing page.
I just completed an overhaul on my carbs. Before starting I didn't have any experience on carburetors. I got lots of help, and I took photos of the job. Over the next few days I plan to post those pictures here.
There are lots of pictures included, so I am working on 2 versions of the following pages. A broadband version and a dial-up version. The pages will be the same, except that the dial-up version will have smaller pictures to help with down-load time.
I took all the pictures using my digital camera at the 4 mega-pixel setting. The page includes thumbnail versions of the pictures. But I chose to make the thumnails pretty large themselves. The thumbnails are 400x300 at 75dpi resolution. In many cases this picture itself will be big enough for your use.
But, you can click on any picture and the full size version will load. If you have a DSL or cable connection this should not be a big deal, but if you have dial-up, go get a cup of coffee.
Once I am done, I'll copy all the pages and resize all the pictures to make it quicker for dial-up users. (and for Verizon DSL users with slower DSL speeds.)
As it turns out, I had a vacuum leak. But I didn't realize it from the beginning.
I have been having a carburetor problem since I bought the bike on e-bay. The previous owner led me to believe that the bike was well running and had recently had maintenance done. When I picked up the bike it had a bad hesitation and it wasn't running on three cylinders at idle. (the left side was the problem.)
From the mileage on the bike and the mileage on his title that he provided to me, it looked like the bike had sat for about 2 years with little to no use.
The first assumption was that the gas had turned to shelac in the carbs and plugged them up.
I ran several bottles of cleaner, including Seafoam, Amsoil PI, MMO, and Chevron Techron. It didn't improve.
So I removed the carbs and cleaned them and replaced the jets, etc with an overhaul kit. They were really dirty, visually, but the holes didn't look plugged. But there was a good coating of shellac in the bowls and the parts were covered in a powdery substance. After cleaning, still same problem.
Then I took them apart again and soaked them, assuming that some passage must be clogged that I missed. After I put it back together, still the same problem.
Before doing the job, some people told me it would be pretty easy, as these carbs aren't too complicated. But others told me that there are a lot of hoses to keep straight. Also, it was common for hoses to deteriorate and develop vacuum leaks.
Several people told me to check my vacuum hoses. I did check all my hoses, (at least as far as I knew). I checked every hose that was attached to the carbs. They were all in great shape. What I didn't know was that there were more hoses that weren't attached to the carbs.
As it turns out, under the carbs there is a black rubber mat that covers the intake manifolds. And there are more hoses under it.
Someone suggested to me that I check the hoses by spraying some starter fluid around the hoses. I tried all around the carbs and nothing, but I tried spraying under the mat from near the spark plugs and the engine reved. I had my first big breakthrough.
So I took it all apart again, and this time I lifted up the mat and BINGO there it was. A little "L" shaped hose that came out of the left intake. That hose was toast. It had a really big hole in it right at the elbow. The part number for this little hose on a 96 GL1500 is 17173-MN5-000. I've looked at fiches for a couple of different years, and it seems to be the same part number for every year that I've looked at. But I haven't checked all years, so do your homework before ordering.
From this point it was an easy replacement.
Here's the test: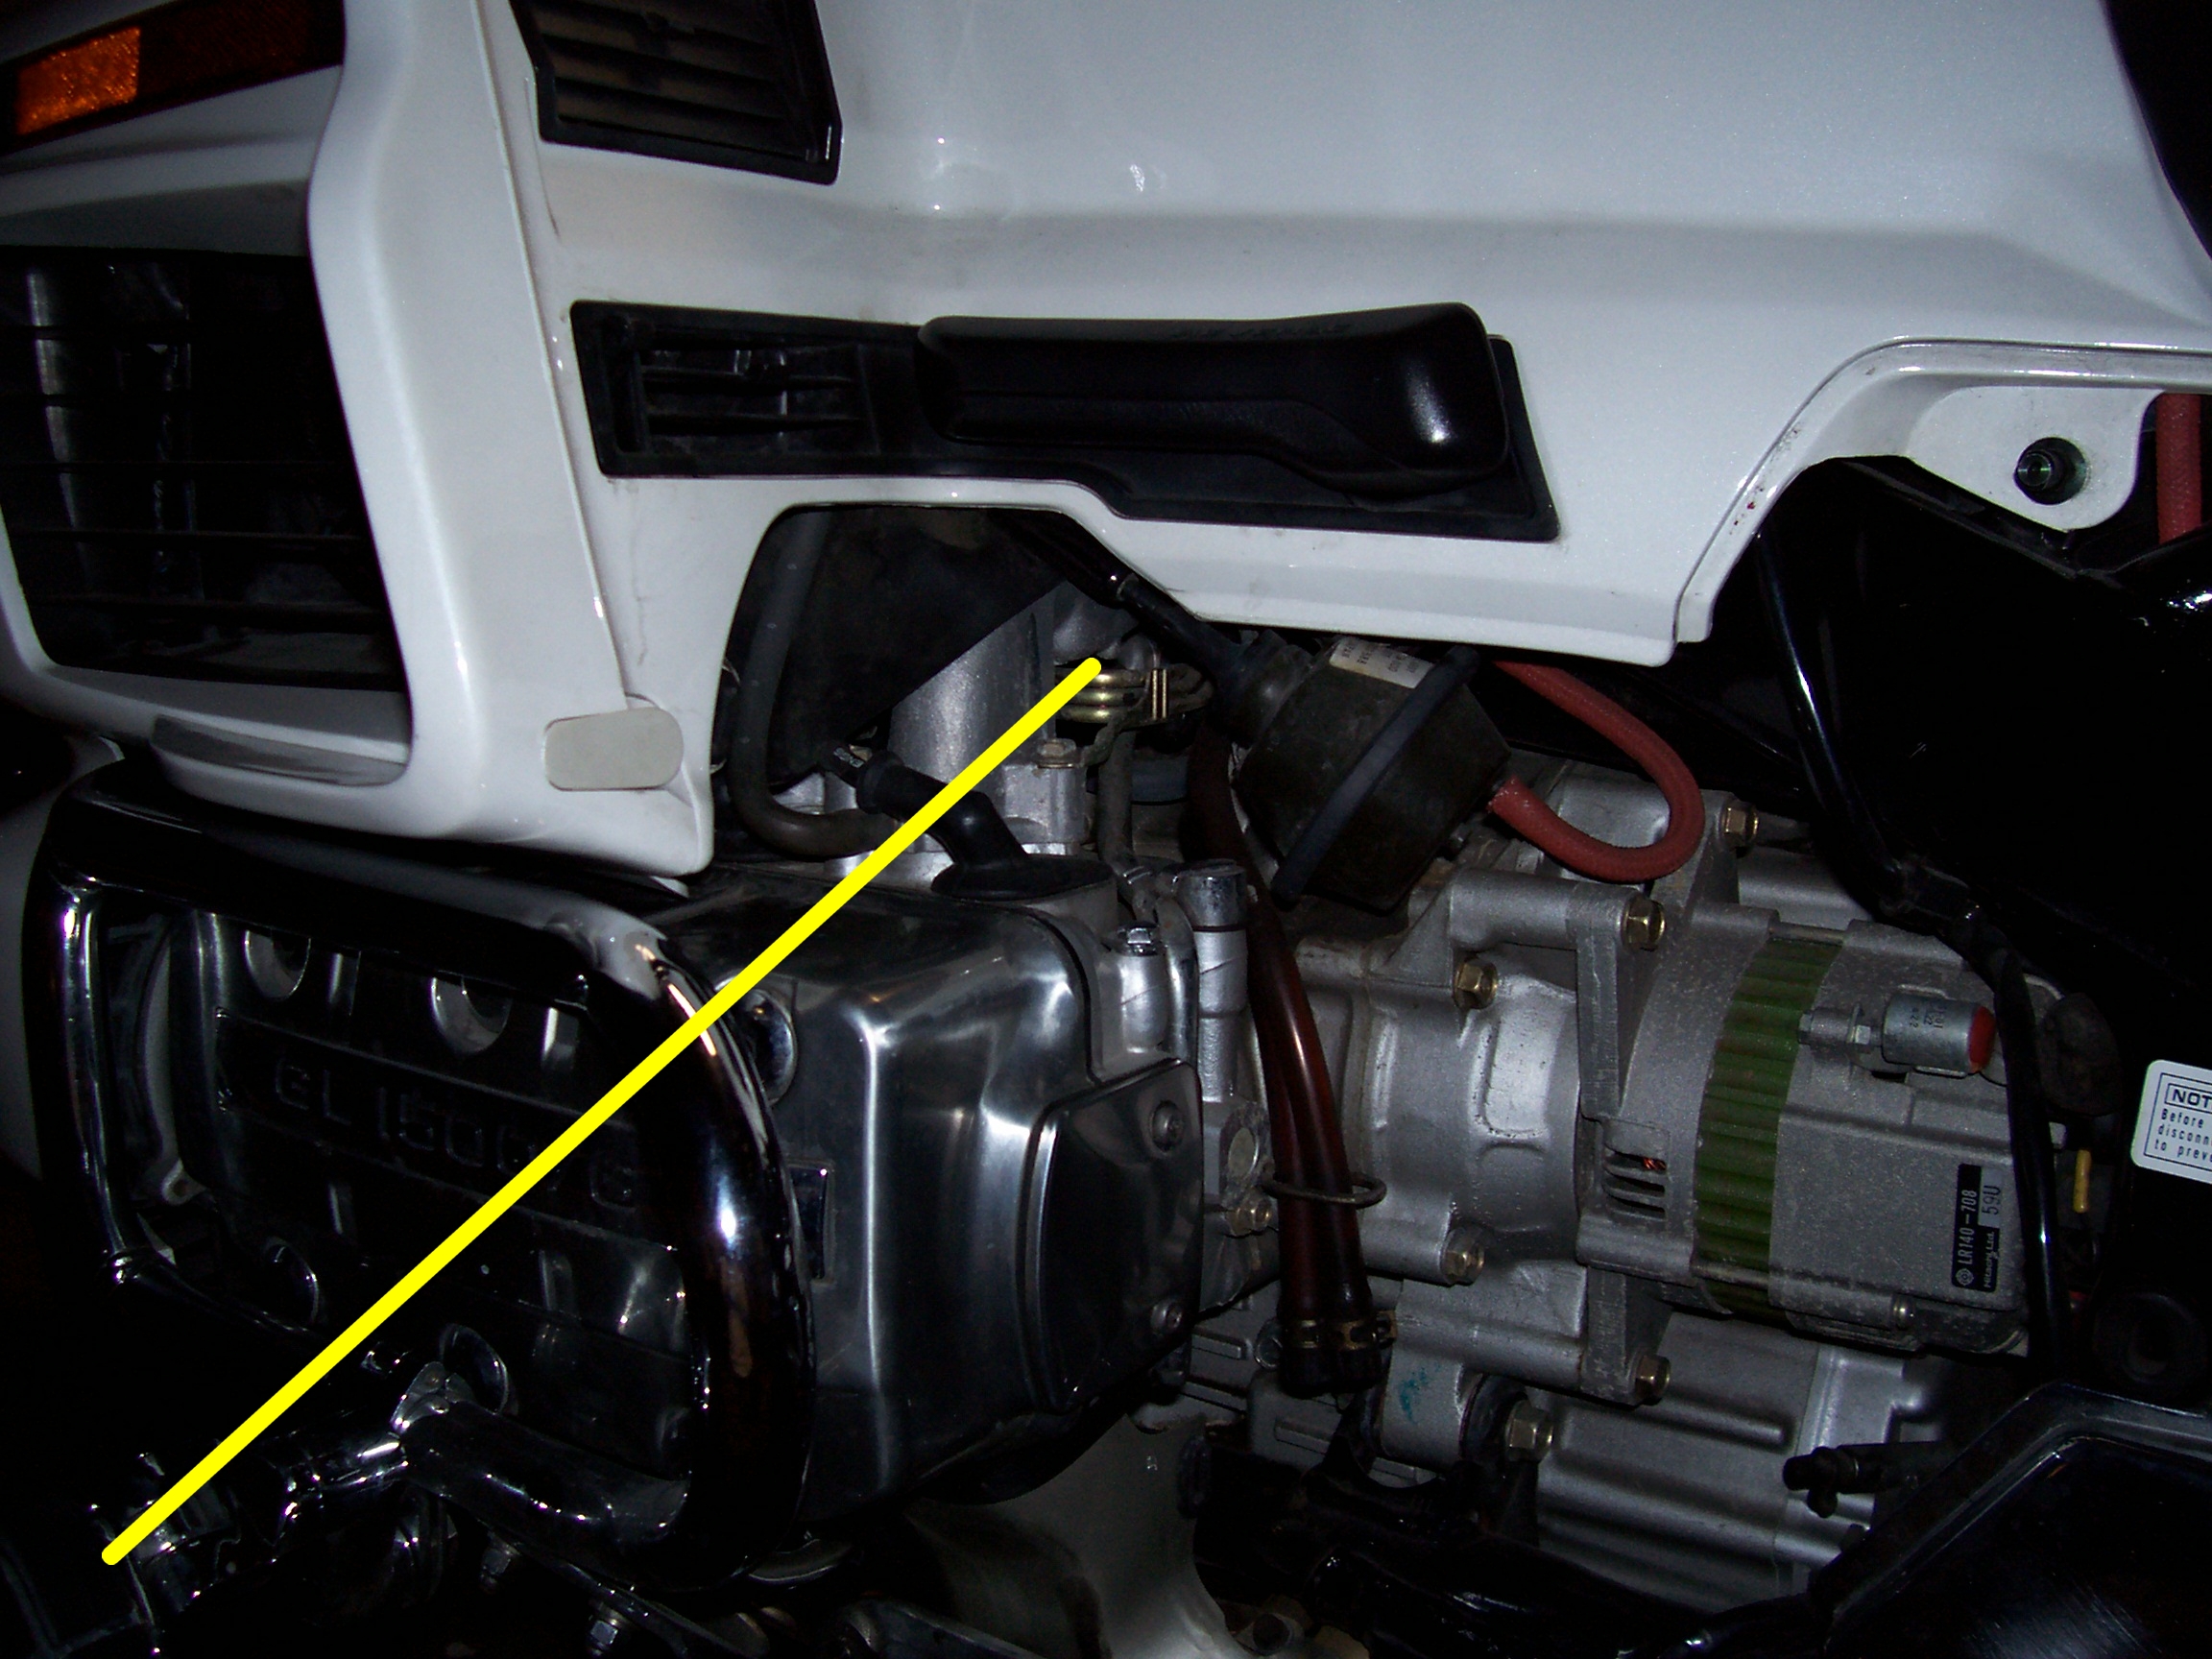
This page: Carb job summary page.
Go to: Carb removal from the bike.
Go to: Carb separation.
Go to: Carb overhaul.
Go to: Misc pictures.
Return to: Jim's Goldwing page.
Click here to E-mail me.