Goldwing Rear Tire Change
Go to: Rear tire change summary page.
Go to: Trunk lower trim removal.
Go to: Saddlebag removal.
Go to: Wheel removal.
This page: Coupling cleaning and lubrication.
Go to: Driveshaft maintainence.
Return to: Jim's Goldwing page.
Note: you can click on each picture to see a full size picture.
As I said on the previous page, I take the wheel and coupling unit to the Honda dealer and have them install a new tire and valve stem and balance it. Also they clean the coupling and re-grease it for me.
However, have some Moly 60 on hand. Just because my dealer takes good care of me, doesn't mean that yours will.
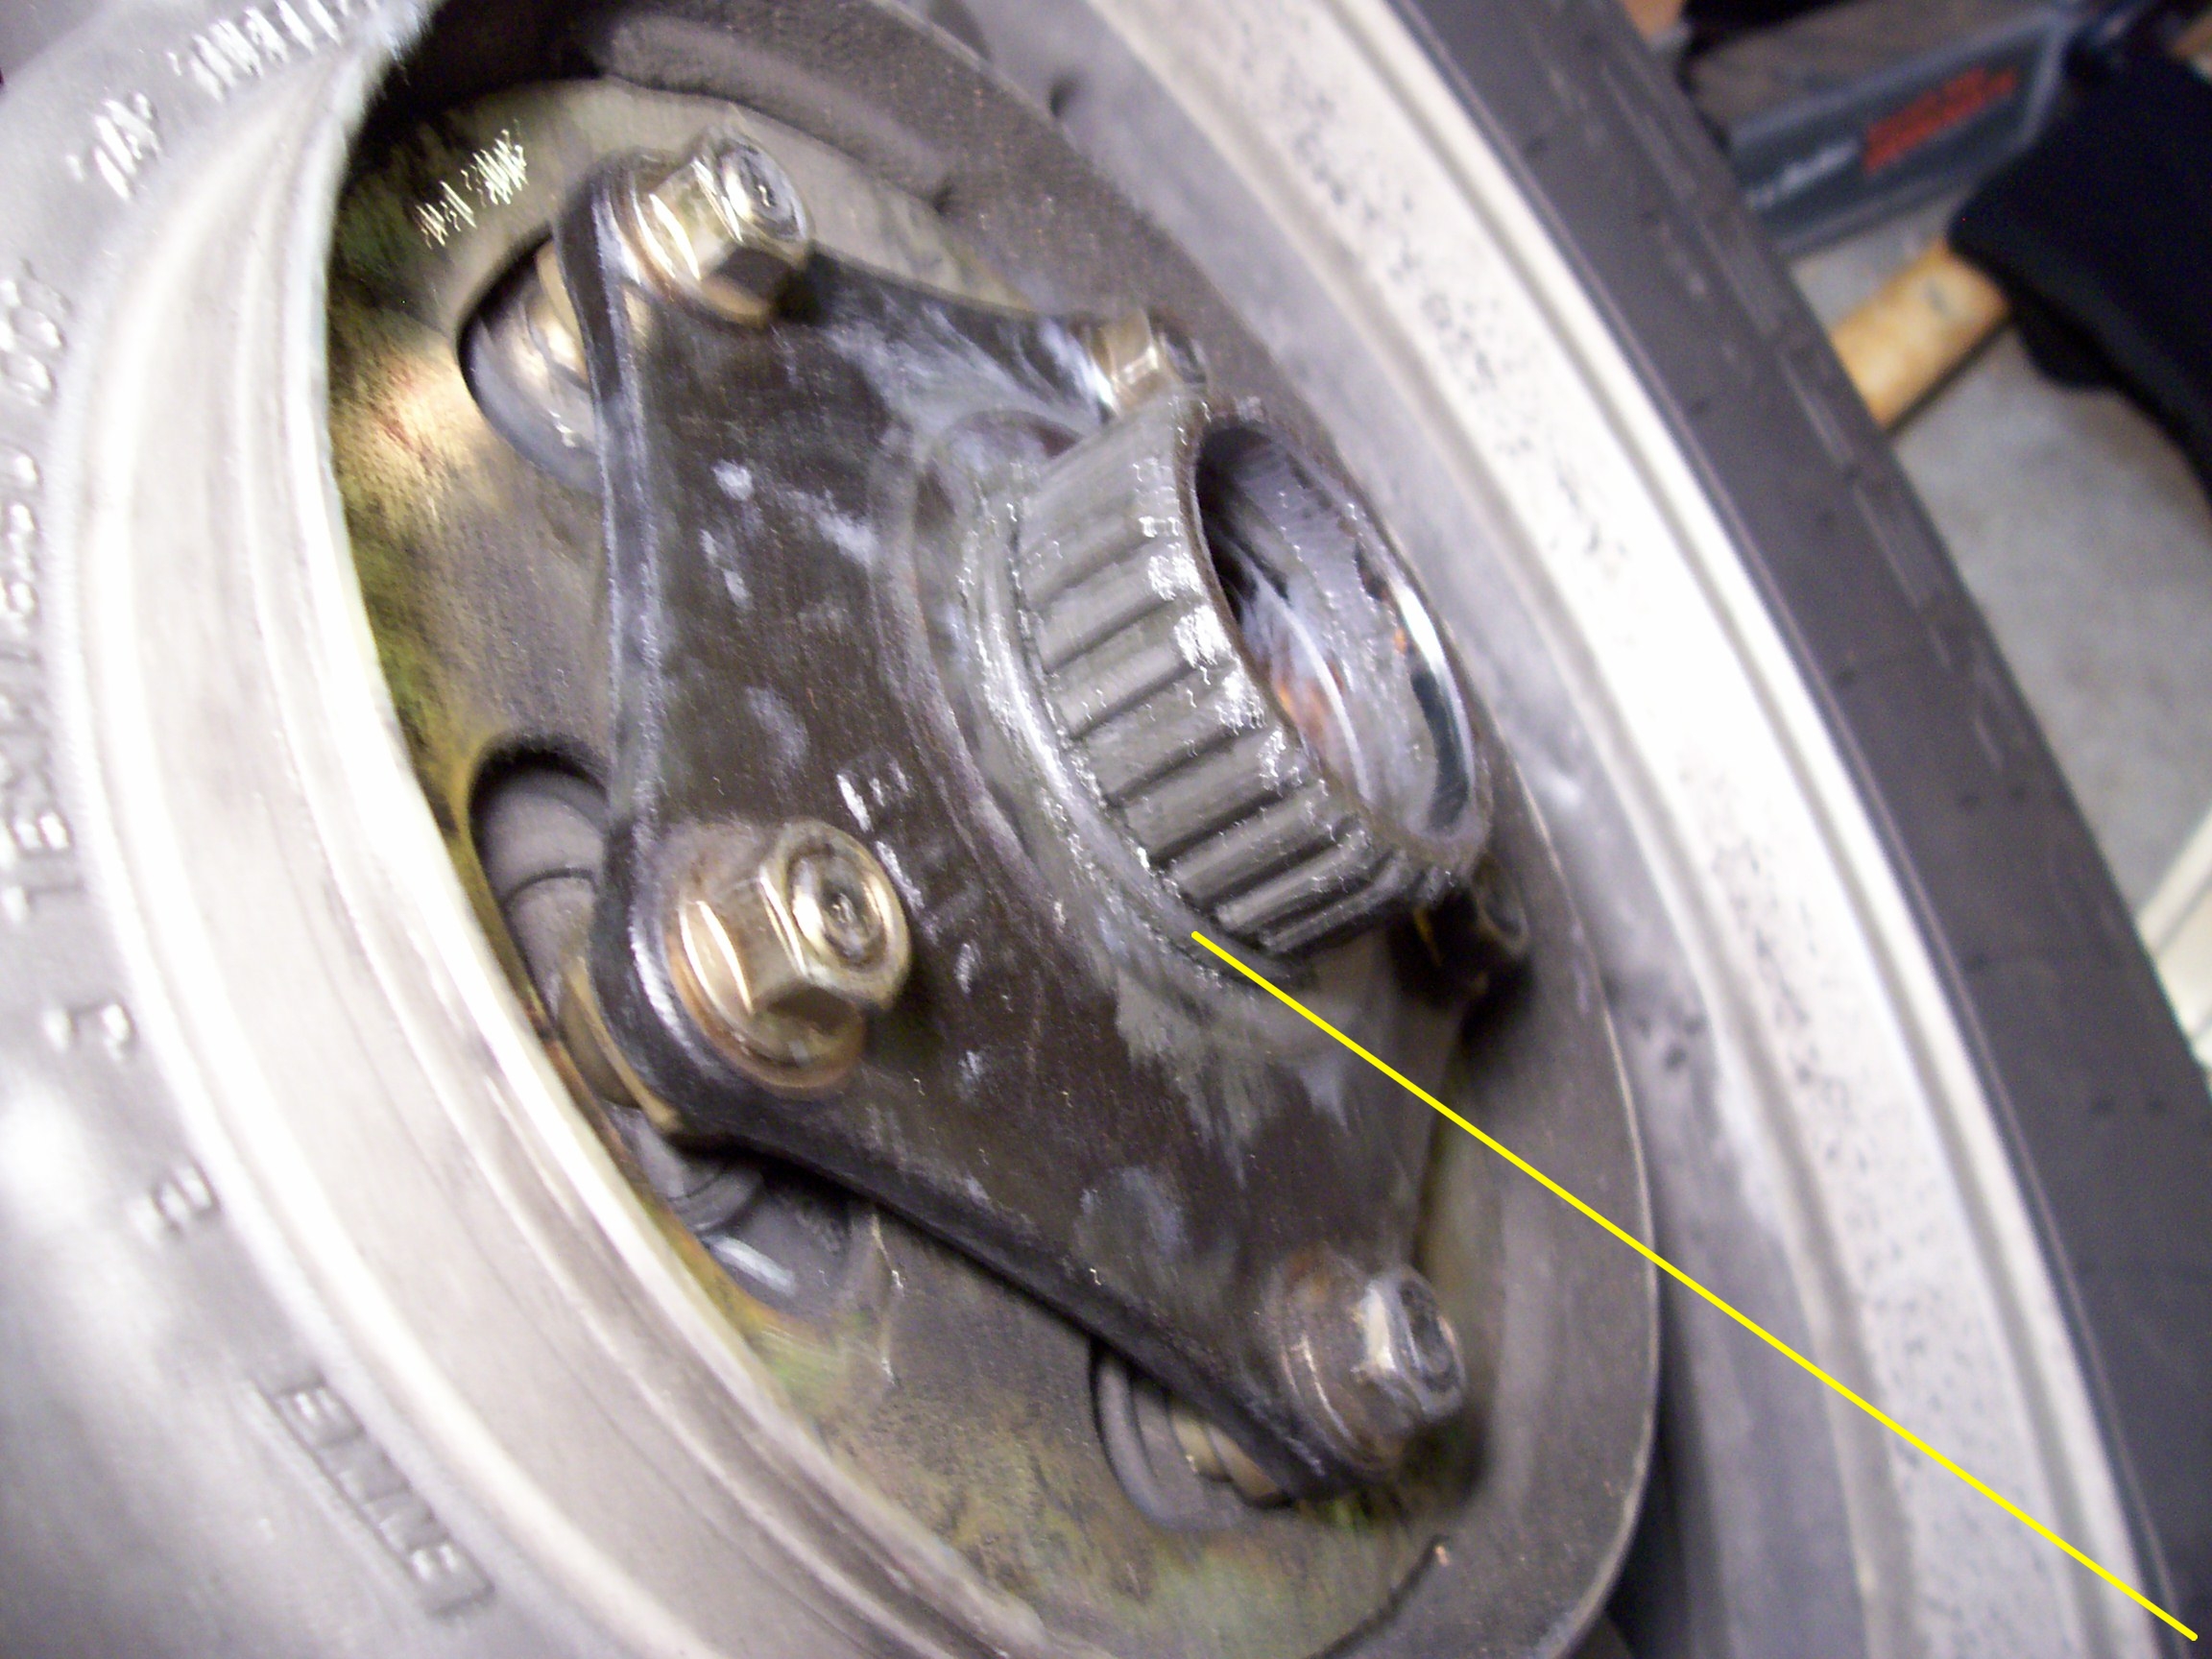
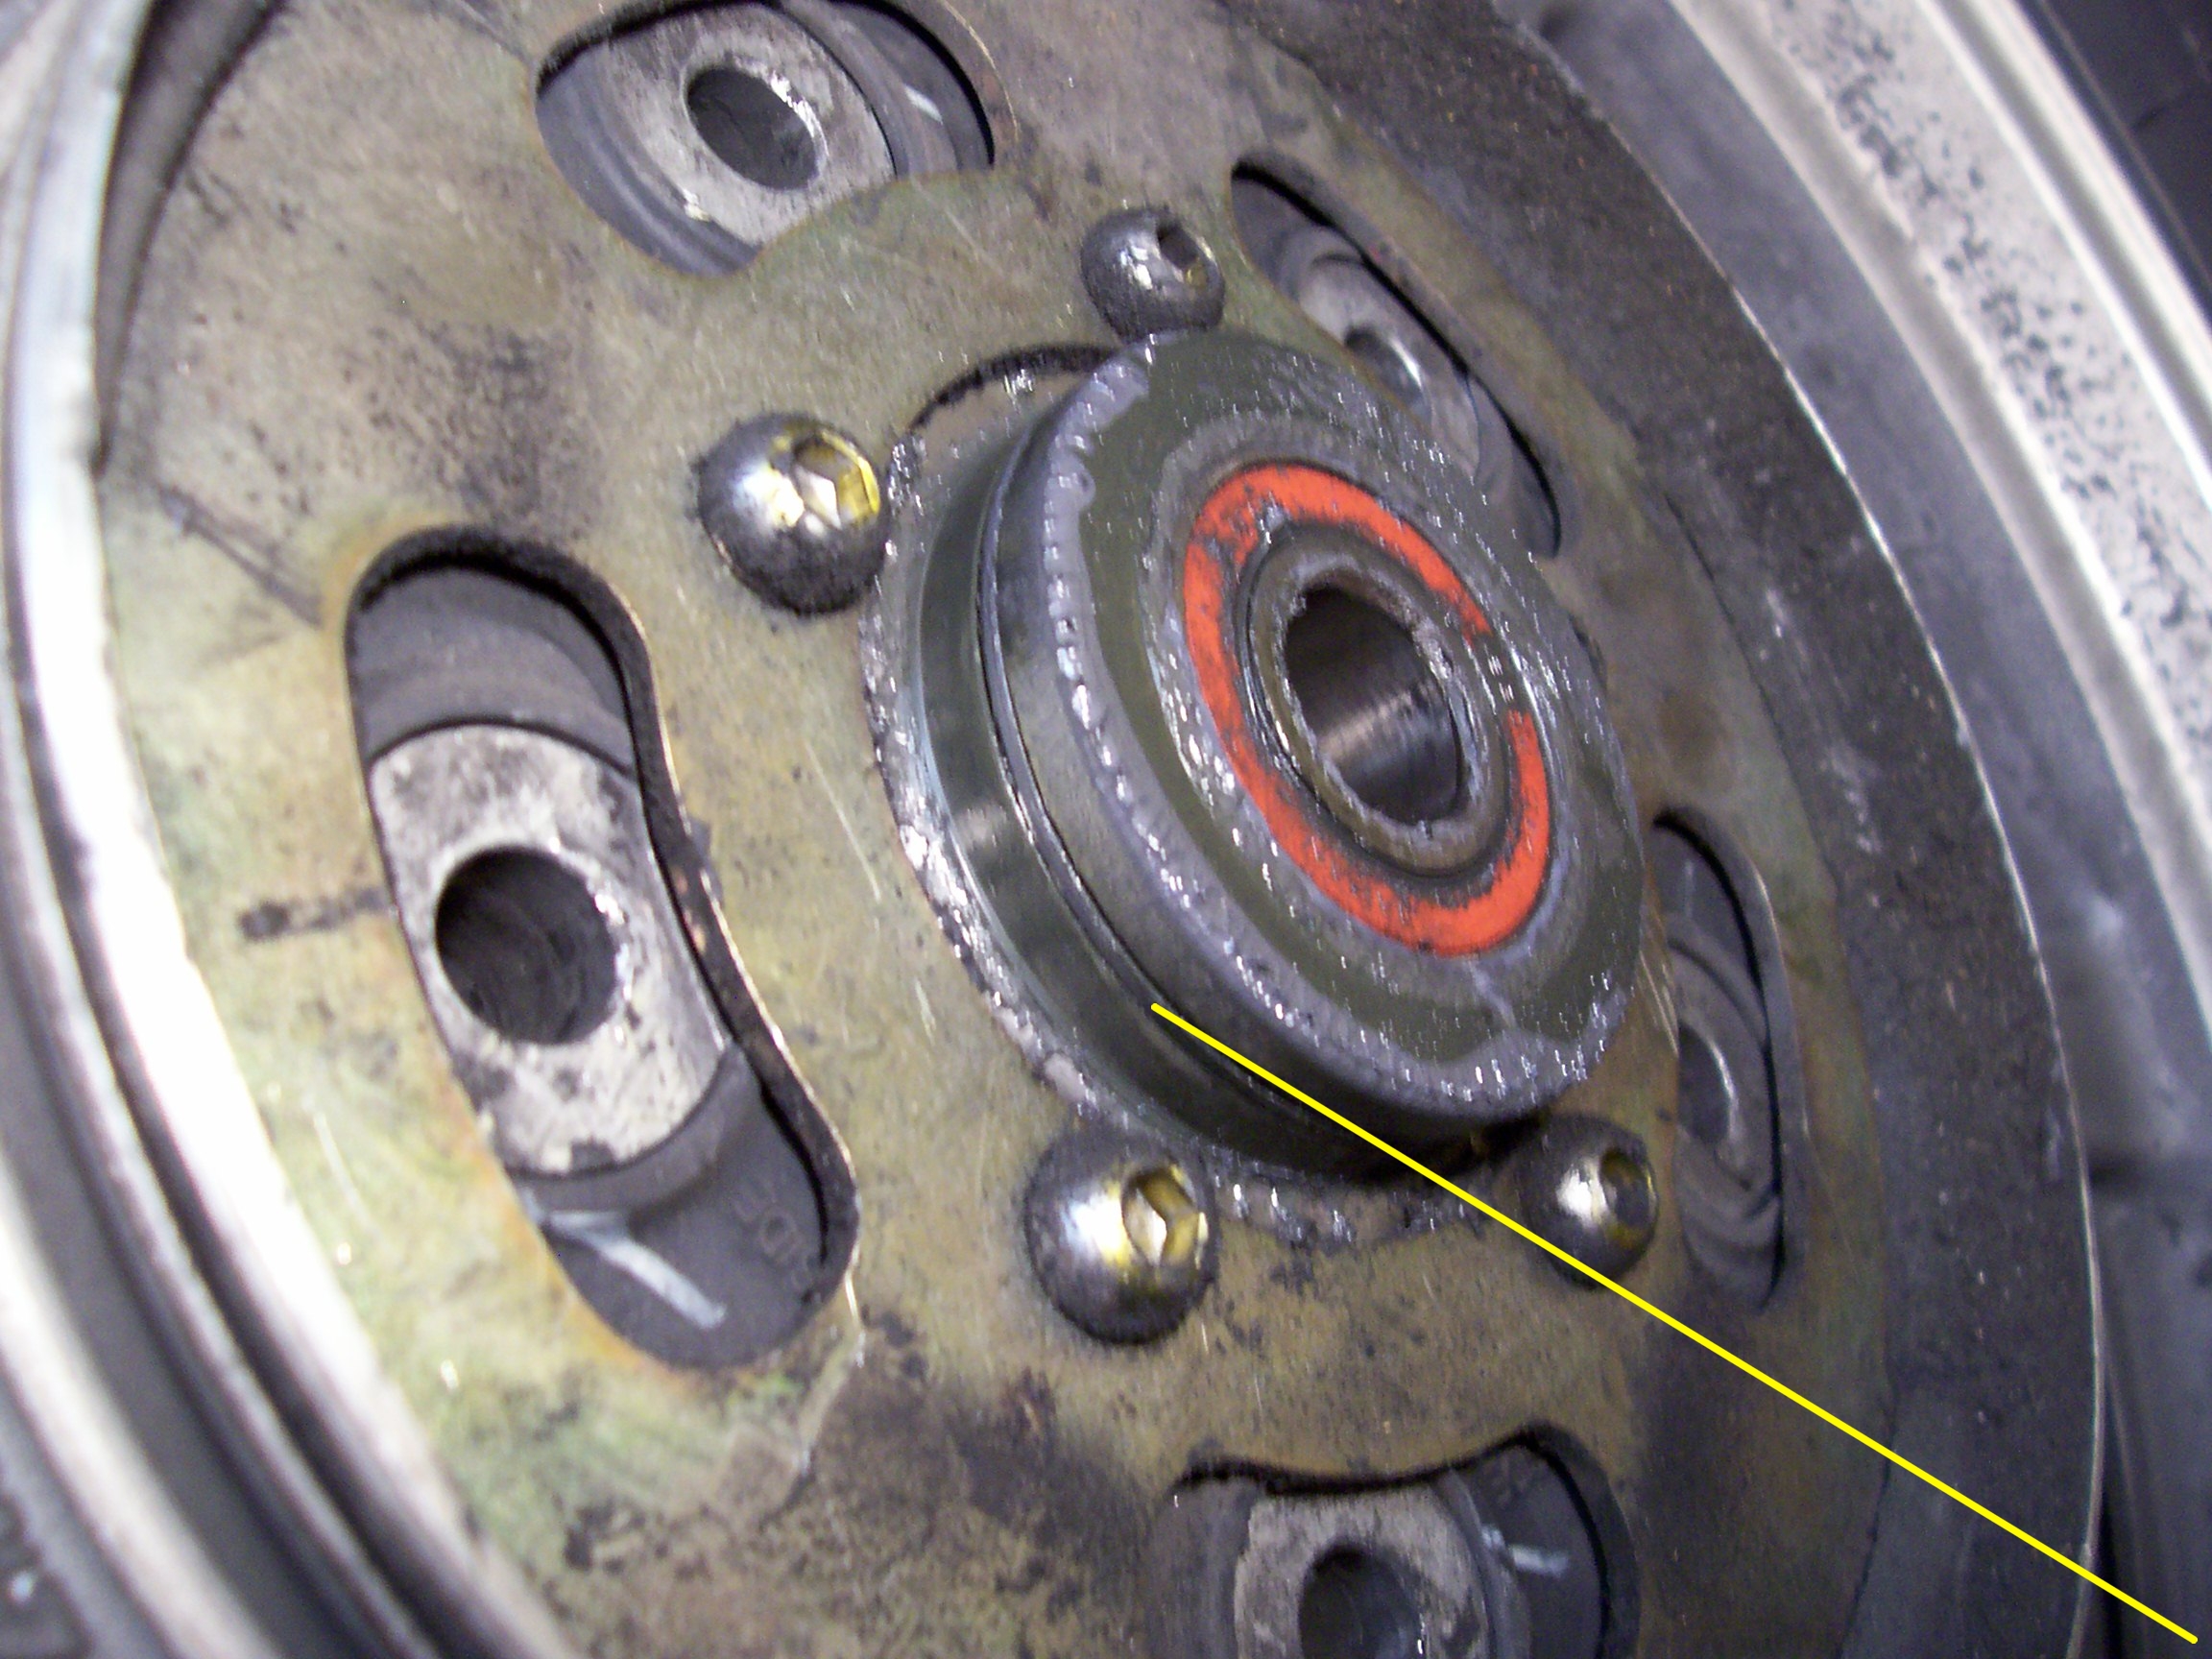
Check the condition of the o-ring on the wheel and the o-ring on the coupling. Replace if necessary.
My dealer parts department tells me that the o-ring on the coupling is hardly ever replaced. They don't keep it in stock. So I haven't replaced that one. They do, however, keep the wheel o-ring. I replace mine when it shows sign of being flat.

|

|
|
The coupling o-ring.
|
The wheel o-ring.
|
You need to clean all the old grease off the coupling. Then "paint" a light coat on the splines.
On the 1500 do not gease the pins. They go in dry. (on the 1200 grease the pins.)
Install the coupling on the wheel.
Ensure that the splines in the final drive are clean and lightly coated with grease.
Re-install the wheel.
Insert the collar, then the caliper bracket, and then the washer. Then slide the axle back into place.
Tighten the pinch bolt.
Position the caliper bracket, and reinstall the lower shock bolt.
Tighten the axle nut.
Reinstall the caliper.
Reinstall the saddlebags.
Go to next page: Drive shaft maintenance.
Go to: Rear tire change summary page.
Go to: Trunk lower trim removal.
Go to: Saddlebag removal.
Go to: Wheel removal.
This page: Coupling cleaning and lubrication.
Go to: Driveshaft maintainence.
Return to: Jim's Goldwing page.
Click here to E-mail me.